

DIY Low Entry Litter Box
As you rabbit ages, your experience level, rabbit toolkit, and creative problem solving will grow. Senior rabbits often develop special needs that will change the course of your daily routine and home set up. The biggest change MOST senior rabbit owners make as a result of aging is the introduction of a low entry litter box. Though there are several high quality ones on the market, those who are looking to save a bit of money to put more towards medical costs might consider the DIY route. Over the years, we have cultivated a few different methods for creating low entry litter boxes that don’t break the bank. There are pros and cons for each method. Take these into consideration when deciding which litter box to make!
Cafe Tray Method
Pros: Quick and easy to make, cheap Cons: Messier, less contained hay
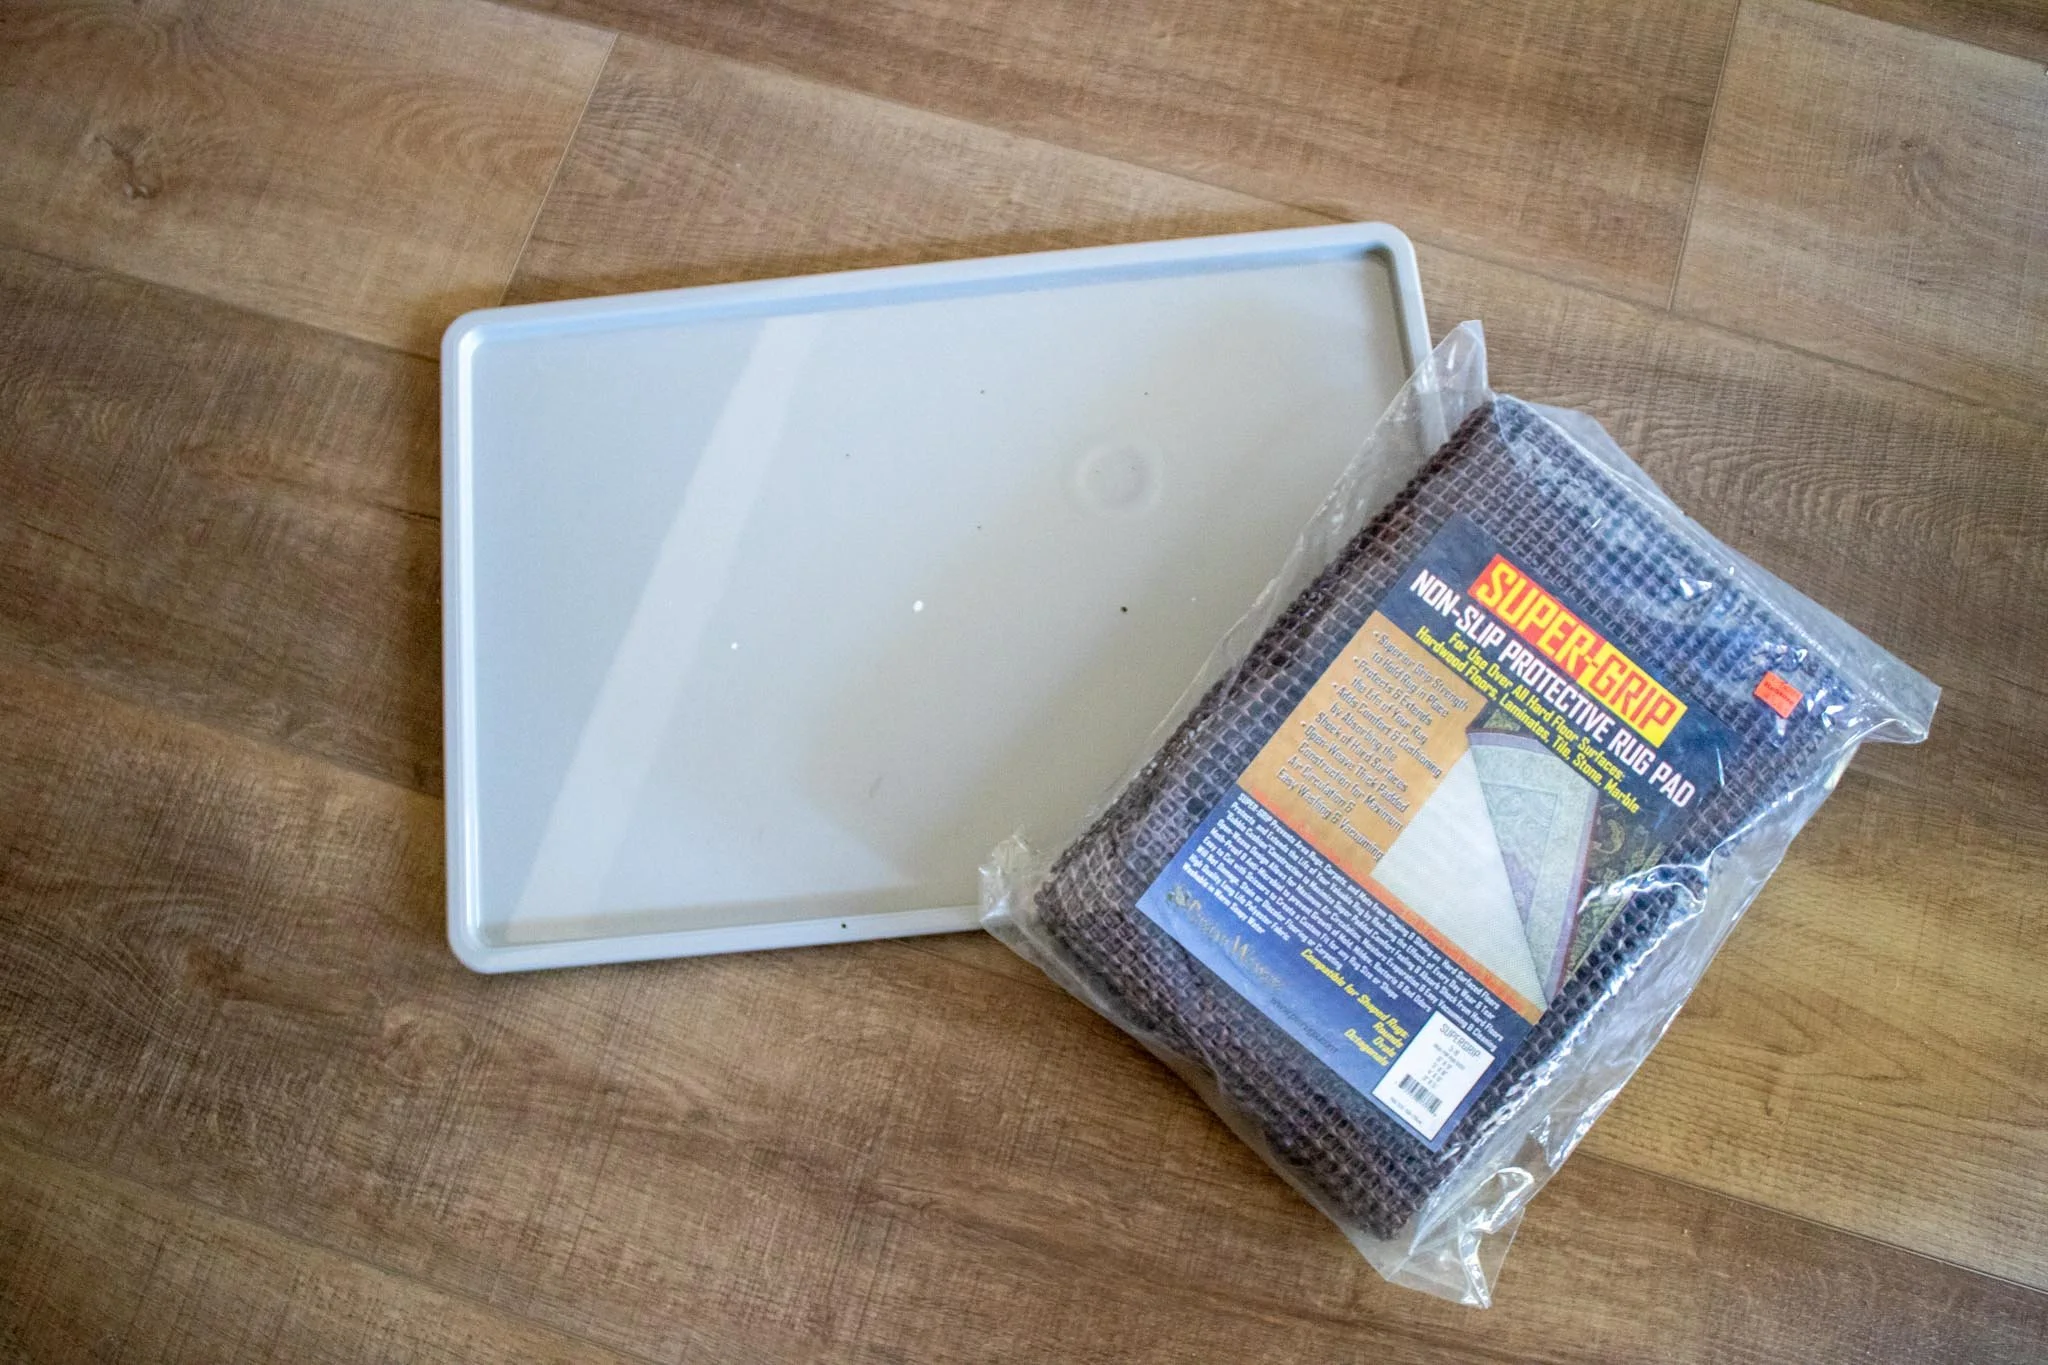
Supplies: Plastic Cafe tray (we found one at IKEA for $1.49), Grip Shelf Liner, Scissors, Glue* Optional
The Process

1. Cut the Grip Shelf Liner to the size of the bottom of the cafe tray.

2. Using a small amount of glue, tack glue the grip liner and let dry. Some grip liners are so good at griping that no glue needs to be applied!

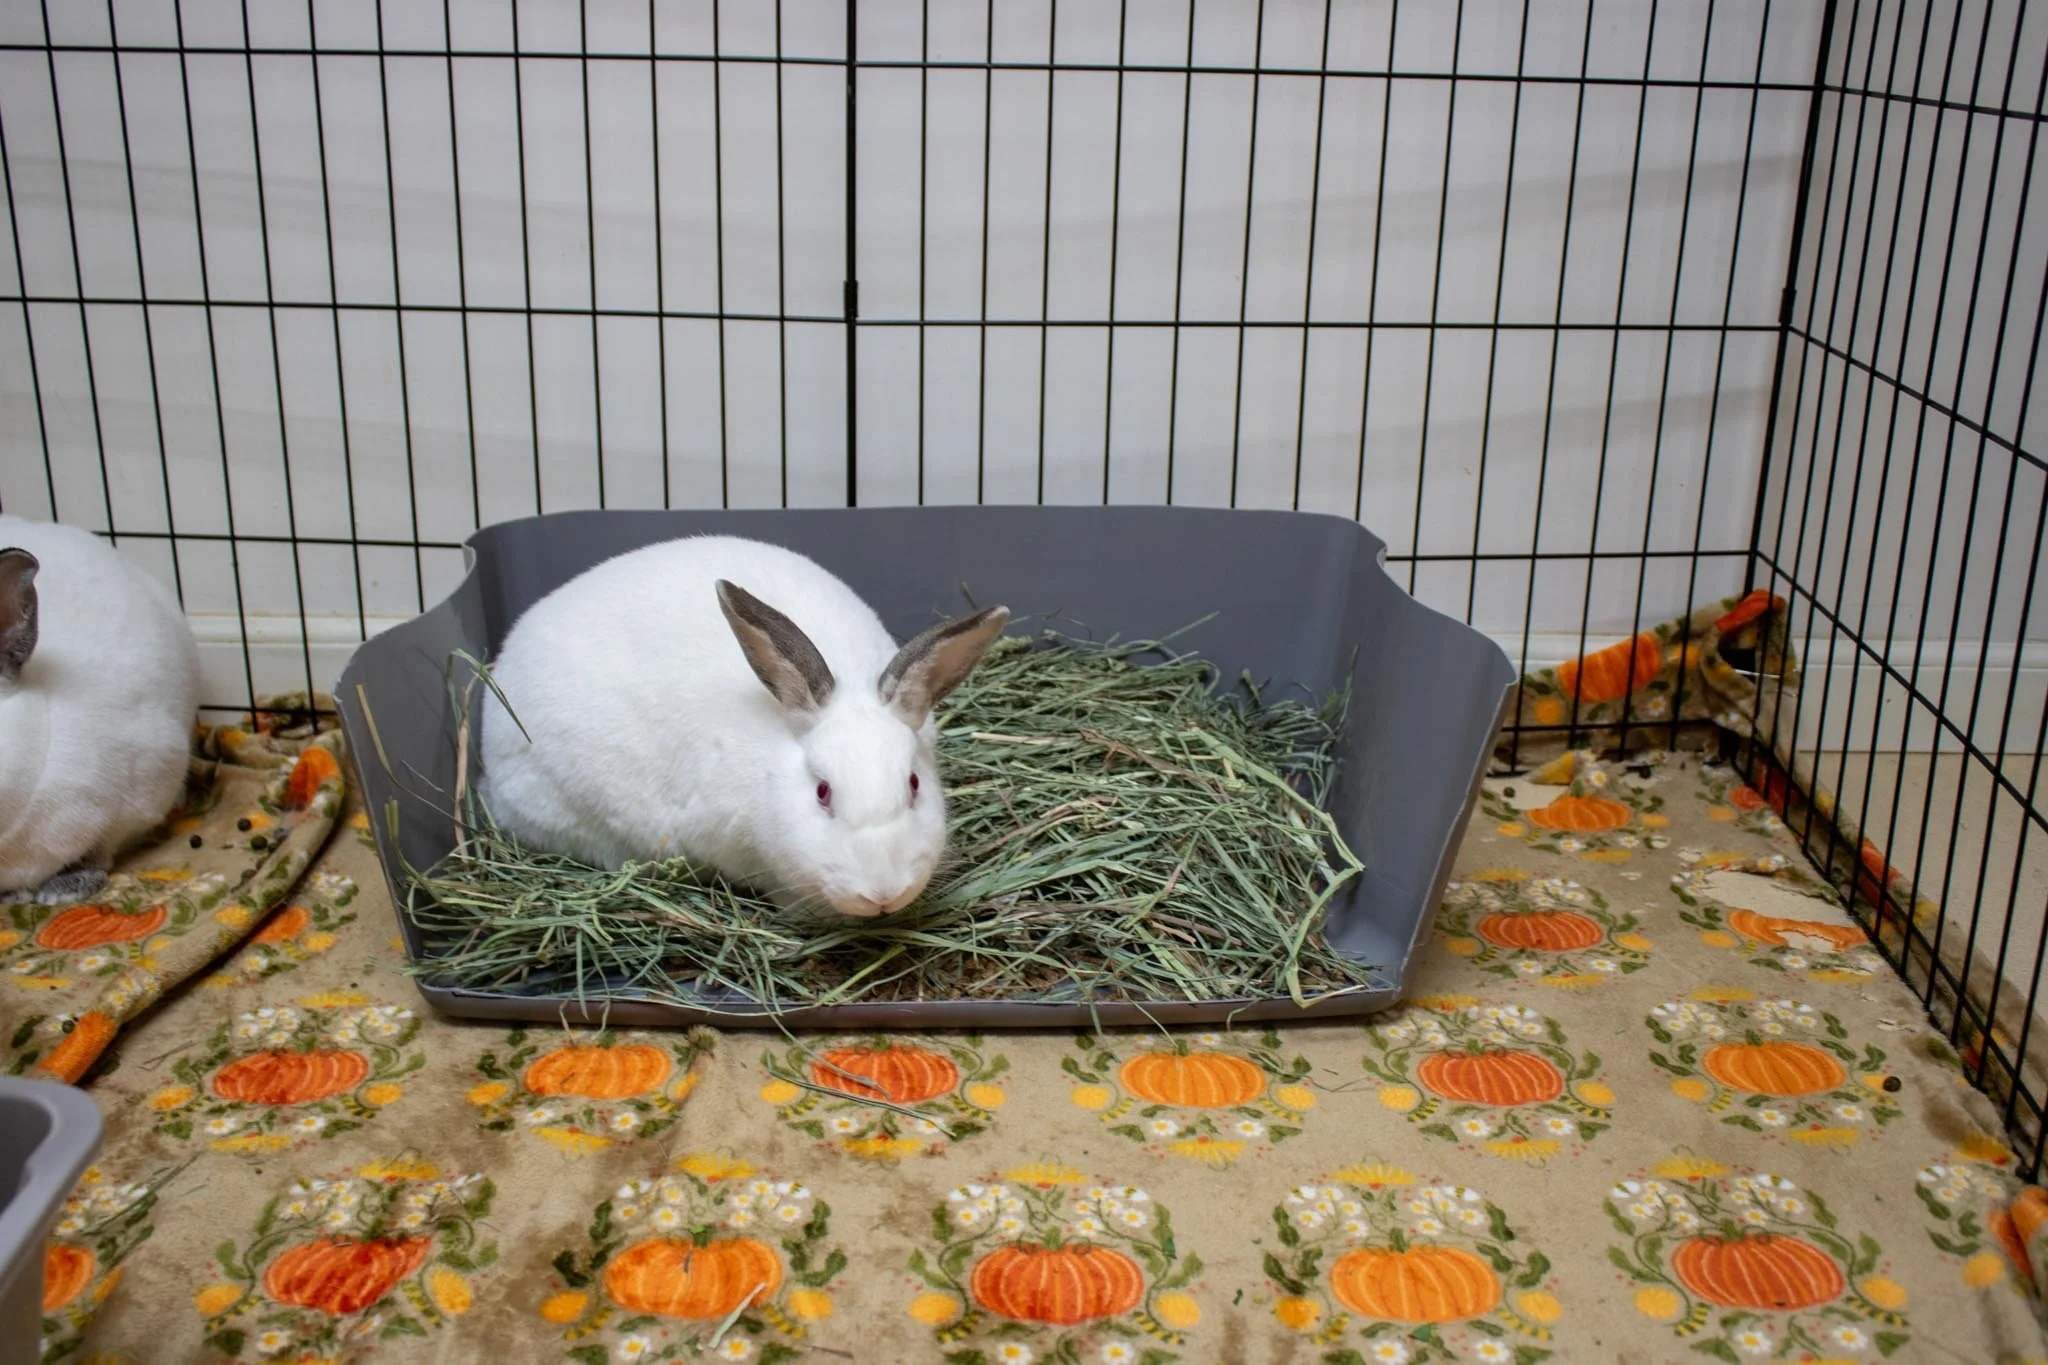
3. Place the tray either in a corner of the room or against a wall. Doing this will help contain some of the hay and litter on the tray.
Modified Plastic Tub Method
Pros: Have tall sides to contain hay or litter pellets that get kicked out, has more weight so it is less likely to slip across the floor
Cons: Can be hard to cut depending on the thickness of the plastic, if using an older plastic litter box or tub, there is a higher chance of the plastic being brittle and shattering when cut.
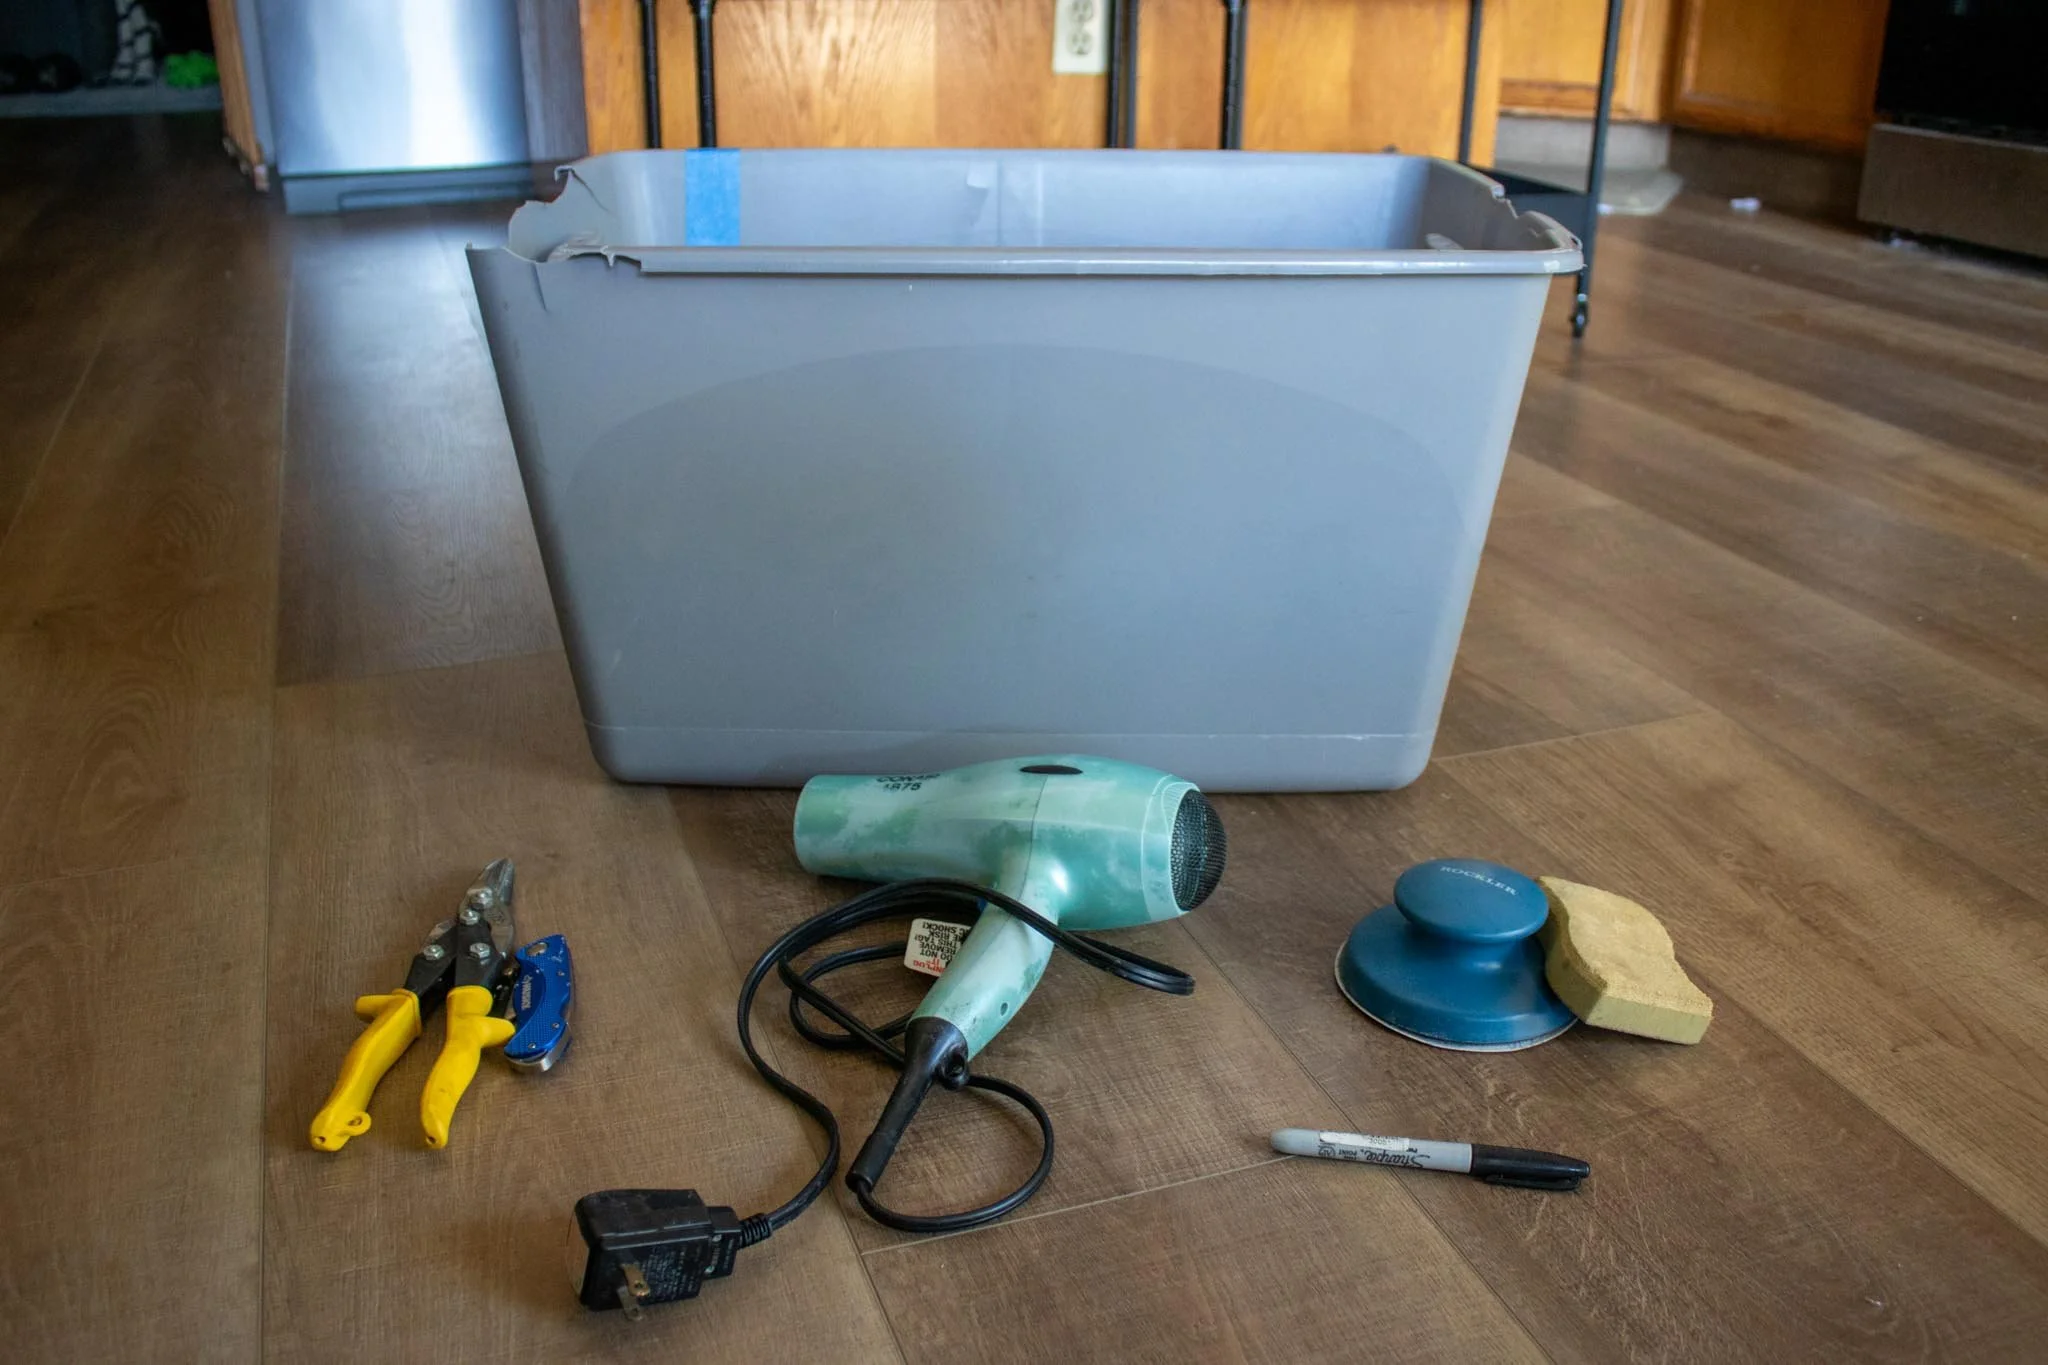
Supplies: A thin walled plastic tub (preferably a newer one) or an old litter box, scissors or tin snips or box cutter, a marker, sandpaper, face mask, hair dryer (optional), grip shelf liner (optional)

1. Mark the desired height of the litter box on 3 of the 4 sides with the marker. On the 4th side, draw a lower lip either flush with the bottom up to 1” high.

2. Starting at the top of the box, cut along the line. We do not recommend starting your cut at a corner as plastic boxes or tubs typically have more plastic at the corners to help with structure and will be a harder cut to start with. You can try heating your cutting tool of choice with a hairdryer before cutting to help the plastic become more malleable.

3. While wearing a mask, sand the raw cut edges down to lessen the likelihood of cutting your rabbit's paws. Be sure to thoroughly clean your space of any microplastics afterward. Using a wet towel will help the plastic stay low to the ground, making it easier to clean up and less likely to get kicked up into the air.
*Optional: Add a grip shelf liner for extra traction.
There are many other creative ways to redesign your space to optimize the comfort of your rabbit. With a little problem solving, you can help keep your rabbit hoppy, healthy and engaged at home.