

DIY Bumpers
Bumpers are a great addition to a senior and special needs rabbit space. These function as a way to pad your rabbit’s space to keep them safe from hard edges that could cause injury if your rabbit has balance, sight or mobility issues. They also function as a way to comfortably prop up and support rabbits who struggle standing on their own. Hop n’ Flops are a great way to support rabbits who need help standing or sitting in a static position but there are currently no pen bumpers available on the market for purchase to line the length of an entire pen or wall. Over the years we have tried several DIY options including using pool noodles or sewing braided bumpers that can be made to specific lengths needed.
Pool Noodle Method
Pros - Cheap solution, easy to make, minimal sewing required, easy to wash the sleeve
Cons - Rabbit may check the pool noodle, not as soft

Supplies: 3 four foot long poole noodles, fabric (preferably fleece), large buttons, a marker, a box cutter, a ruler, scissors, needle and thread, ribbon* (optional)

1. Measure out, mark and cut the pool noodles to the desired length. For our project, we are making a bumper and sleeve that fits a 2’ by 4’ pen set up so our pool noodle lengths were 2- 4’ noodles and 2’ -1.75’ noodles.

2. Next, using the material you have measured out for length, measure and cut the pieces to fit the circumference of your noodles and add 2 extra inches.
Sew your pieces together end to end to create the full length of the fabric needed. For our project, we sewed three 4 foot by 14 inch pieces of fabric together lengthwise to create a 12 foot by 14 inch piece.
Using the leftover fabric, cut 14, 12” strips of fabric. These will become your button ties. Alternatively, you can cut 12” strips of ribbon for a more fun look.

2. Measure 2 “ by 1” from the edge of your piece and mark out the placement of the buttons along the long length. We recommend placing a button every foot along the length.
Once marked, sew the buttons in place. We used 12 buttons.

3. Wrap one of the pool noodles in the piece to help gauge where to place the button tie. The tie should be in a spot that creates overlap of the material to help better hide the noodle. For our project, this resulted in ties that were placed approximately 2” from the edge.

4. Sew the ties in place.

5. Using the 13th strip of fabric (or ribbon), fold the strip and sew to create a loop that will be attached to one end of the length of the bumper to close the bumper. Sew to one of the bumper.
Using the 14th strip of fabric (or ribbon), create a tie by sewing the strip to the opposite end of the bumper.

6. Place the pool noodles in the open sleeve and wrap, tying the sleeve shut using the ties and buttons along the length.
Tie the end tie to the end loop to close the bumper end to end, creating a rectangle.
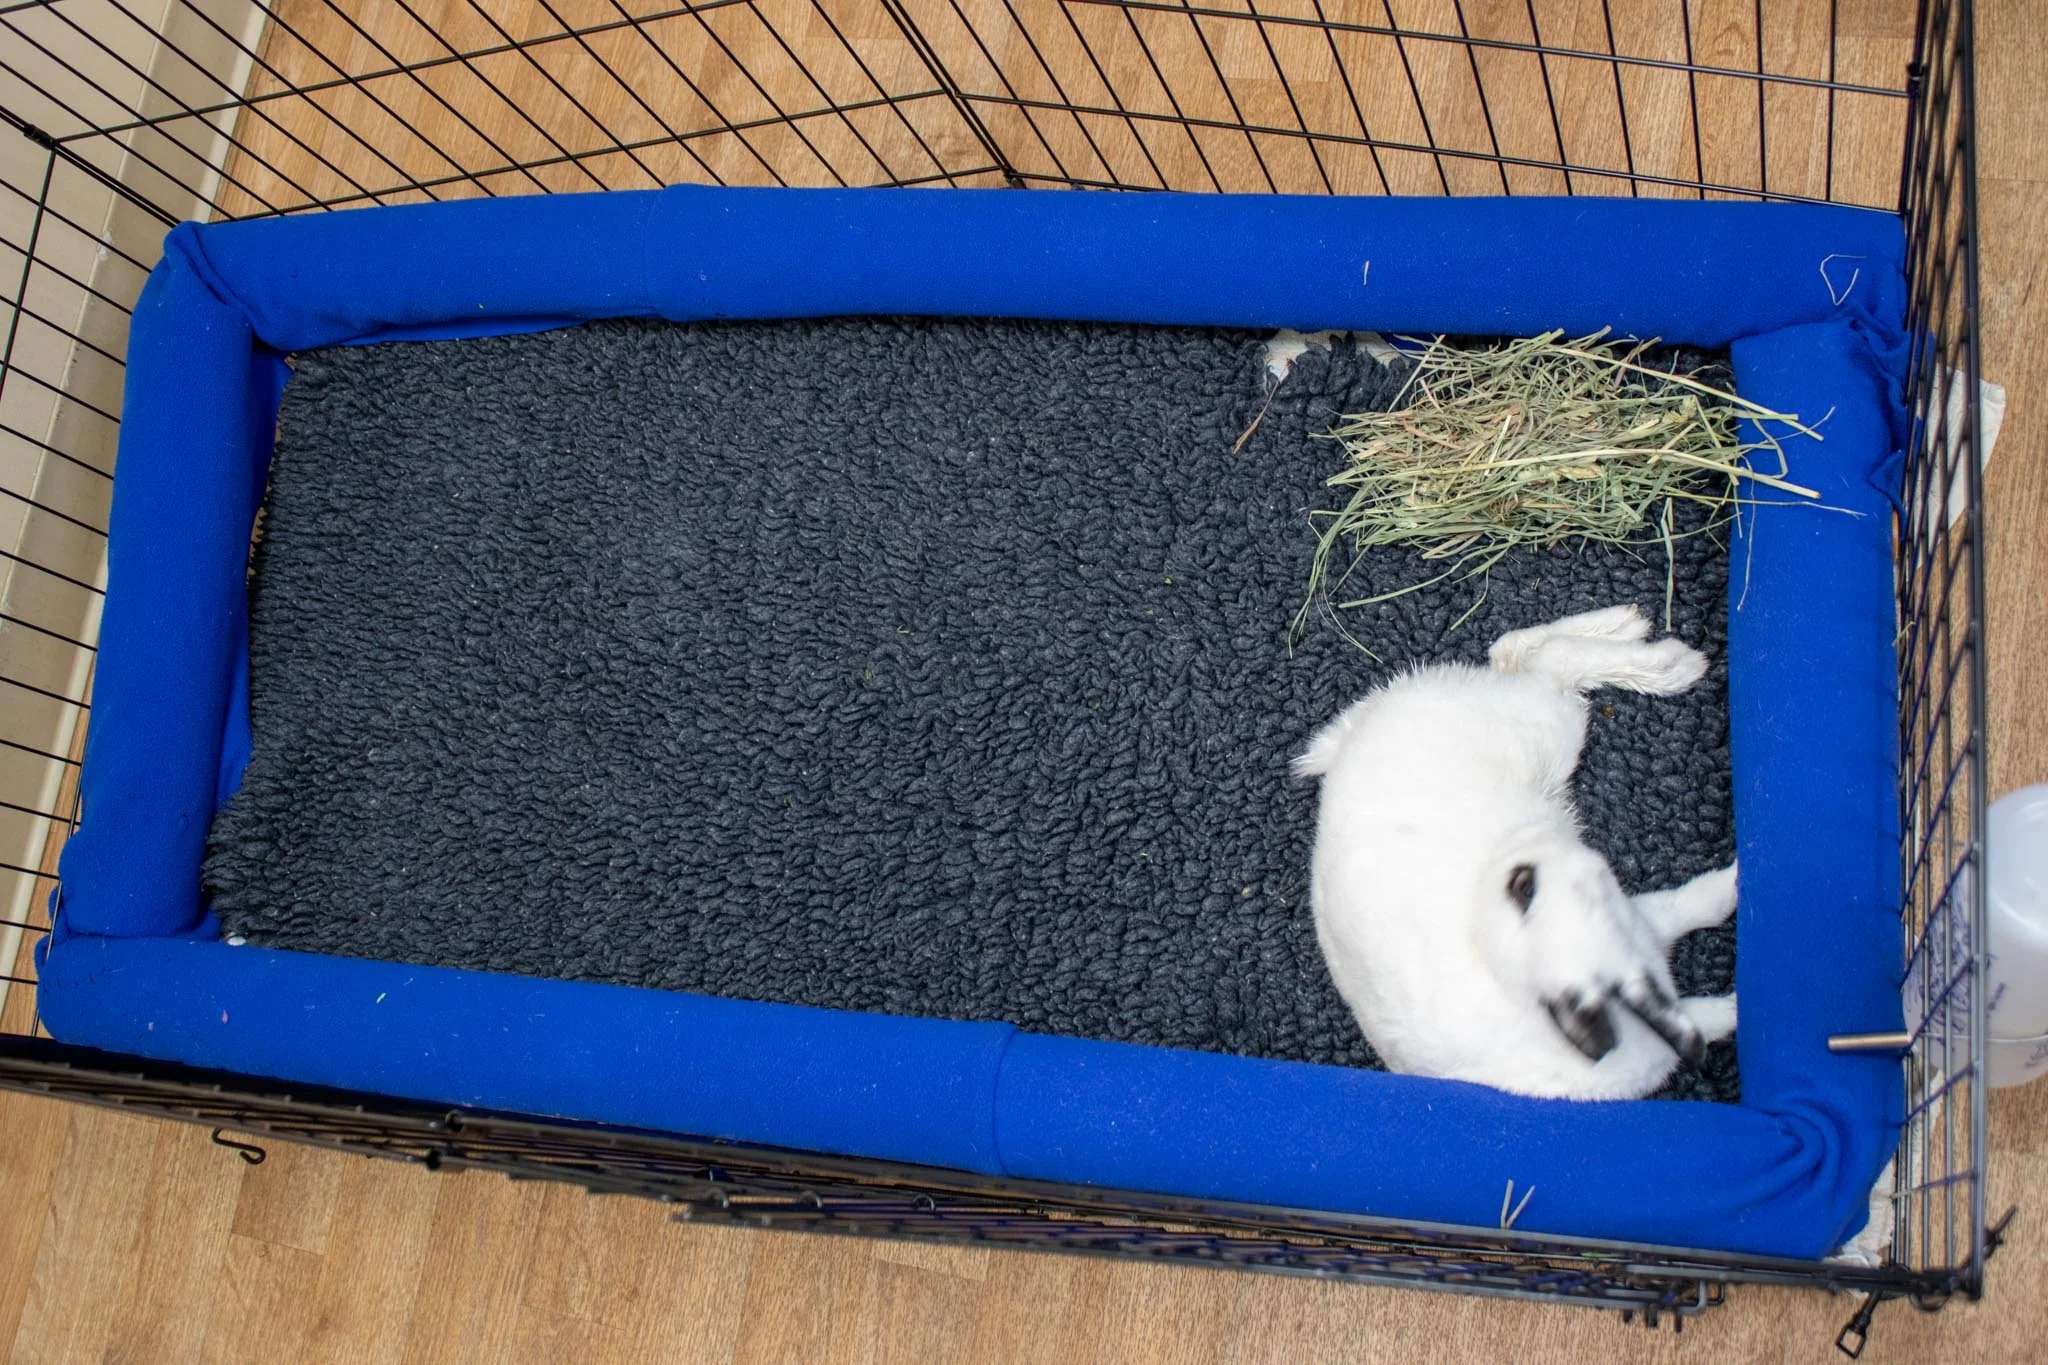
7. Place it along the inside of your rabbit’s pen!
Braided Bumper Method
Pros - Soft, modern looking, longer lasting
Cons - Takes more space in the wash, more difficult make
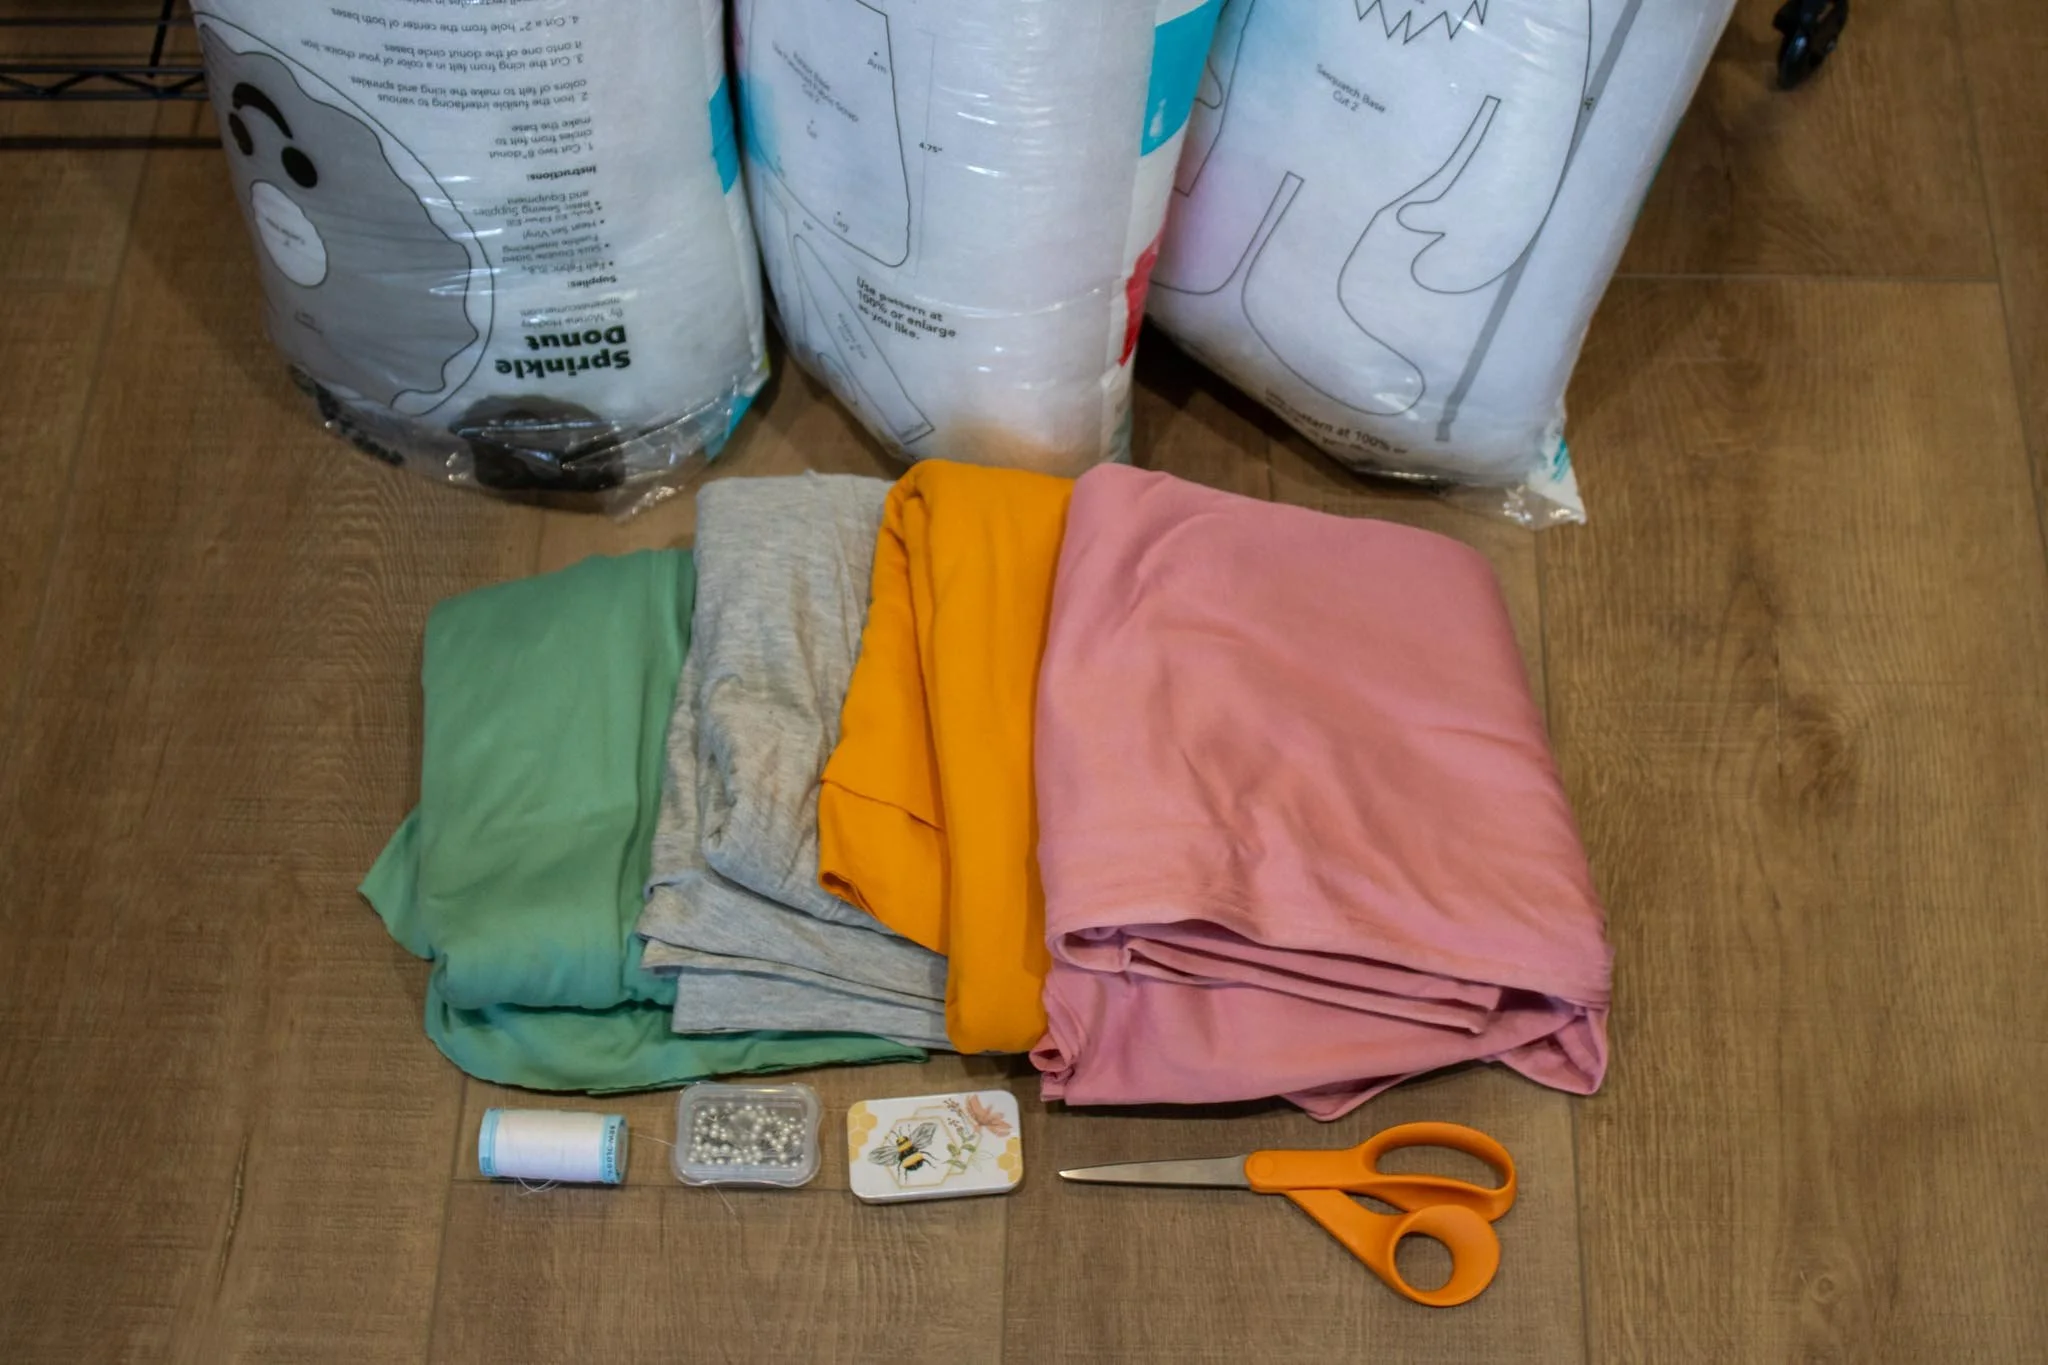
Supplies: 4 different color fabric (we recommend fleece), stuffing, scissors, measuring tape, thread, sewing machine or needle for hand sewing, pins

1. Measure out and cut fabric to the length and width desired for your bumper from 1 of your fabric choices. For our project we want to make a bumper that is the length of the inside of a 2’ by 4’ exercise pen so we cut 3 pieces of 4 foot long by 7 inches wide.

2. We then sewed the pieces end to end to create a piece with the dimensions 12 feet by 7 inches. Repeat with the 3 other colors. The result should be 4 long strips of fabric.

2. Fold one of the pieces of fabric in half lengthwise and sew the edges together along the long end. This creates a tube. Repeat with the remaining pieces of fabric. Flip the tubes of fabric inside out to hide the seams. Sew all 4 pieces of fabric together.

3. Fill with the stuffing. *Tip: Some bags of stuffing will come with a long wooden stick to help push the stuffing deeper into your piece. If your stuffing does not come with this tool, you can use a wooden chop stick or a long wooden dowel to help push the stuffing down the length of the tube.

4. Braid the 4 pieces of fabric. To do so, take one color and weave over the color next to them, under the 2nd piece and over the 3rd piece.

5. Repeat with the next color, weaving above, below and above in the same pattern.

6. Repeat until the piece is one continuous braid.

7. Sew the 4 end pieces together to close the tubes and seal the braid.

8. Wrap the braided bumper along the inside of your rabbit’s pen!